

Tips for changing tyres on the mobile home
Change wheels correctly and maintain rims thoroughly
When changing tyres on a motorhome, there are some special points to consider. Here, you can find out how to change the tyres and what tools you need for replacing tyres and rims.
Table of contents
Changing tyres on a mobile home is essential
If you travel long enough with your mobile home, you can't avoid changing your tyres. At some point, even the best tyre wears out or becomes unusable and needs replacing. Those who use their mobile home year-round regularly swap between summer and winter tyres, provided the rims are not fitted with all-season tyres.
Tyre change: DIY or go to a specialist?
When it comes to changing tyres, mobile home owners are divided into two camps. Some prefer to do it themselves, while others opt for a workshop.
Advantages of having the tyres changed in a workshop
The workshop takes the physically demanding work off your hands.
Many workshops also offer a tyre storage service.
Advantages of changing the tyres yourself
Changing tyres yourself saves money.
By working intensively with the technology, you get to know your mobile home better.
Changing tyres on the mobile home yourself
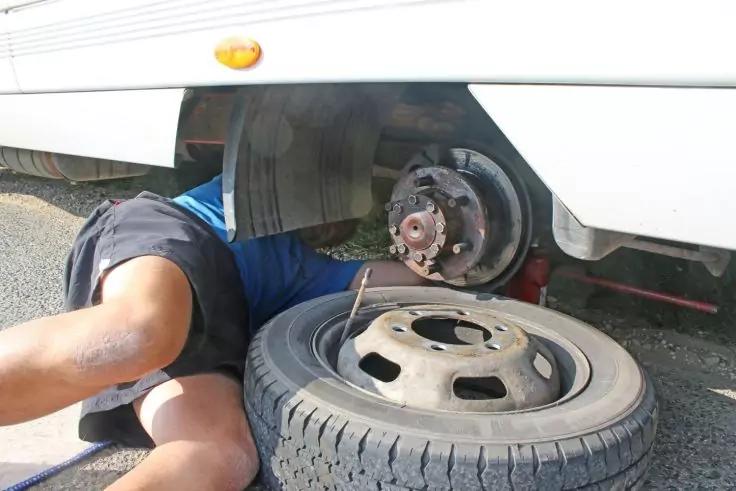
Campers often stand out for their initiative. Many mobile home owners also help with tyre changes. Apart from the physical effort (a mobile home tyre often weighs over 30 kilos), changing tyres requires no special skills.
Tools needed for changing tyres yourself:
- Car jack to lift the mobile home
- Support trestles for safety
- Wheel spider, ratchet, or torque spanner with socket to tighten wheel bolts
- Work gloves for protection against dirt and injury
Until a few years ago, the spare wheel and jack were standard in every mobile home. Nowadays, puncture sprays have largely replaced the spare wheel and scissor jack in many toolkits.
If your mobile home still has onboard tools, a jack is usually included. The table below shows where to find the onboard tools and jack points for common base vehicles (manufacturer recommendations; may vary by brand and model).
Fiat Ducato
- Tools stored in seat consoles or rear garage, packed in a plastic case.
- Front jack points: round opening behind the wheel arch
- Rear jack point: hole on the longitudinal leaf spring
Ford Transit
- Tools stored under a flap on the passenger side
- Front jack points: subframe or frame reinforcement
- Rear jack point: under the leaf spring
Mercedes Sprinter with Alko chassis
- Tools located in the footwell on the passenger side
- Front jack point: rear of the axle subframe
- Rear jack point: cylindrical attachment on the rear axle
Tyre change with shunting jack and hydraulic lifting device
If you change tyres frequently, the scissor jack becomes inconvenient. It is more suitable for emergencies, as raising and lowering with the small crank is tedious.
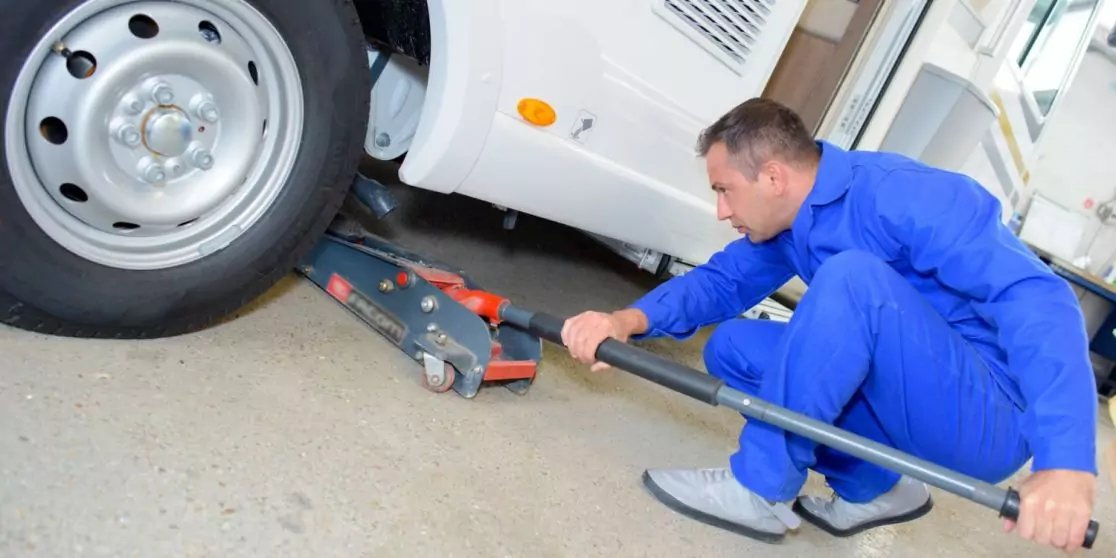
More convenient than the scissor jack is the rolling shunting jack. Its long handle allows you to slide it under the vehicle easily. Then pump the handle to lift the vehicle.
The jack should support at least 40% of the vehicle weight. Depending on the mobile home, this means a capacity between 2–4 tonnes.
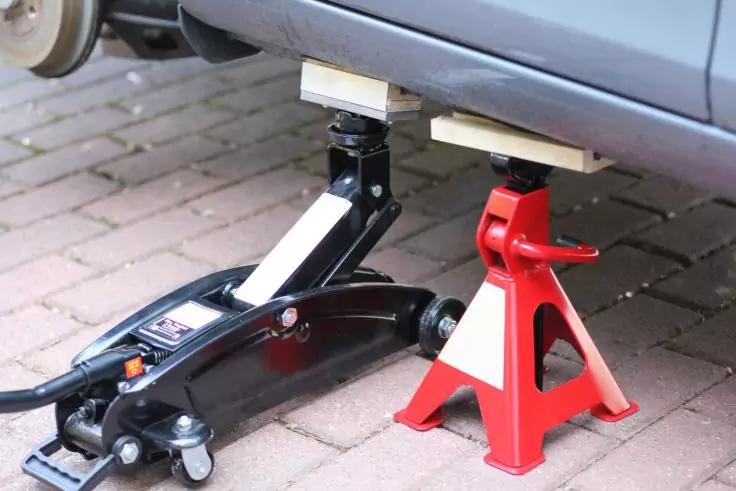
A shunting jack (left) can be rolled under the vehicle easily. Always secure the mobile home with at least one support stand.
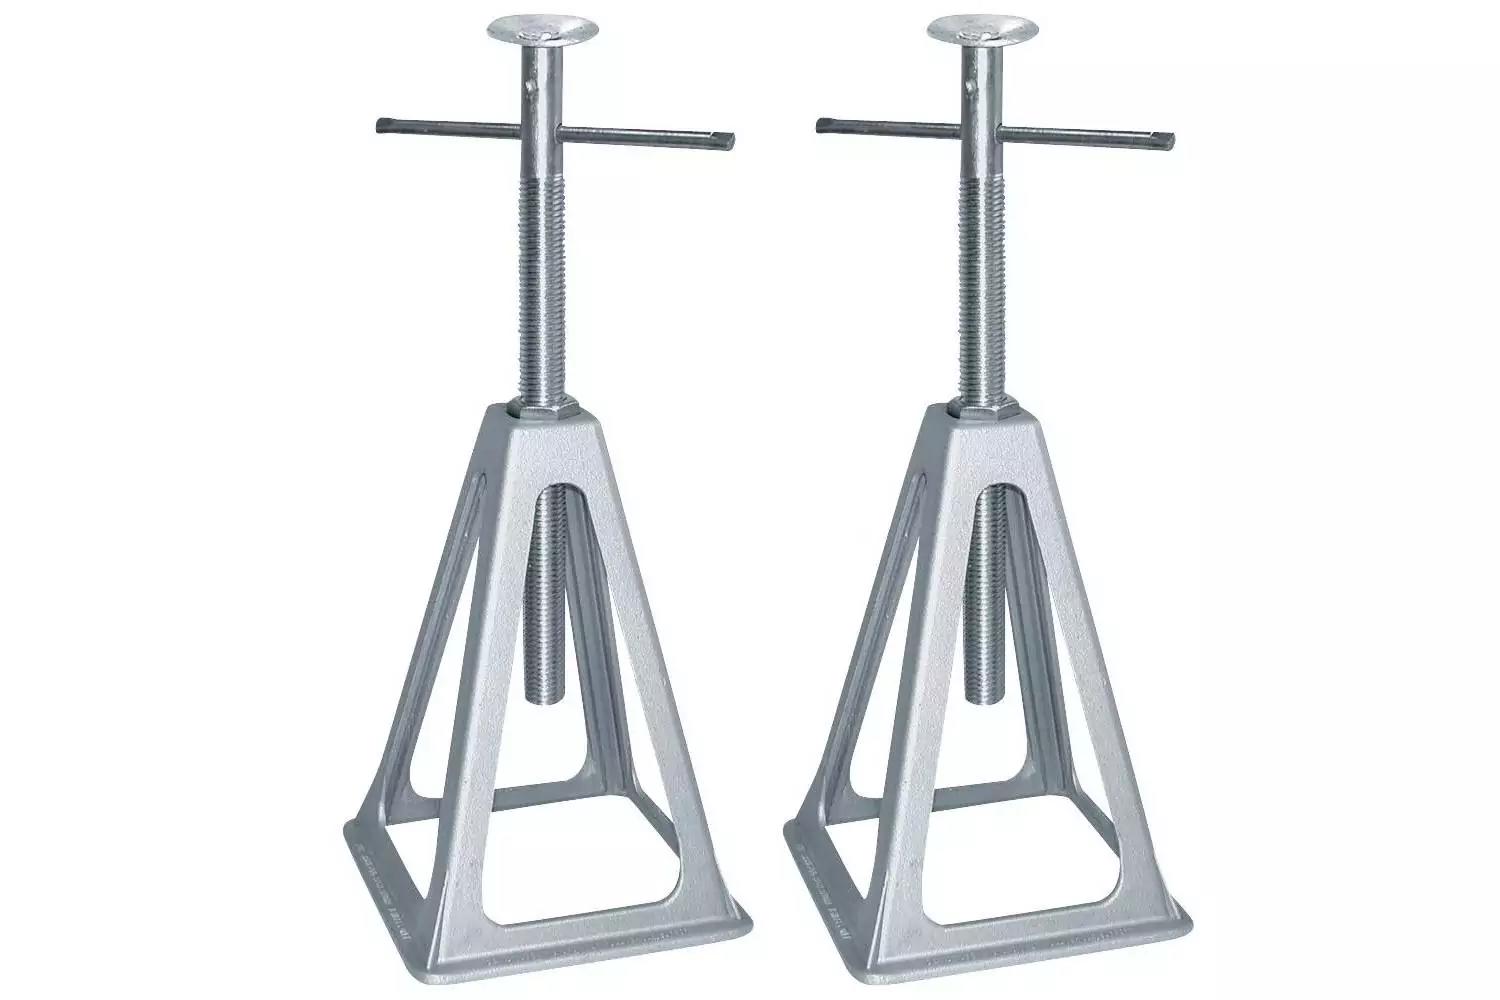
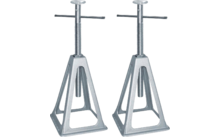
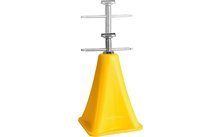
Support stands ensure the mobile home does not sink during tyre changes. Aluminium stands from Berger are height-adjustable.






The right torque for changing tyres
Torque is the force used to tighten wheel bolts. The vehicle manual usually lists the correct value in Newton meters (Nm).
With steel rims, slightly over-torquing usually has no effect. Alloy rims are more sensitive; over-tightening can damage them. Always use a torque spanner for alloy wheels.
Torque depends on vehicle type and rim bolt pattern. Typically between 80–200 Nm. Fiat Ducato-based motorhomes require 180 Nm for both steel and alloy rims.
If the rims have a general operating license (ABE), follow its specified torque if it differs from the manual. Always tighten bolts diagonally (crosswise) to prevent jamming.
After tyre fitting: Check air pressure
After changing all tyres, check air pressure immediately and top up if needed. Driving to a nearby petrol station is usually fine with freshly fitted tyres. A compressor allows self-filling.
Clean tyres thoroughly

After tyre changes, a thorough cleaning of tyres and rims is recommended.
- Inspect each tyre fully; remove stones or debris with a screwdriver.
- If heavily soiled, use a pressure washer at least 30 cm away to avoid damage.
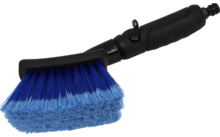
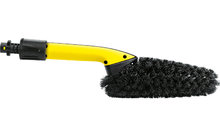
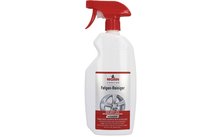
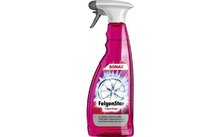
- Use a rim brush and rim cleaner for high shine. Follow manufacturer instructions, letting the cleaner work before scrubbing. Slim brushes reach between spokes.
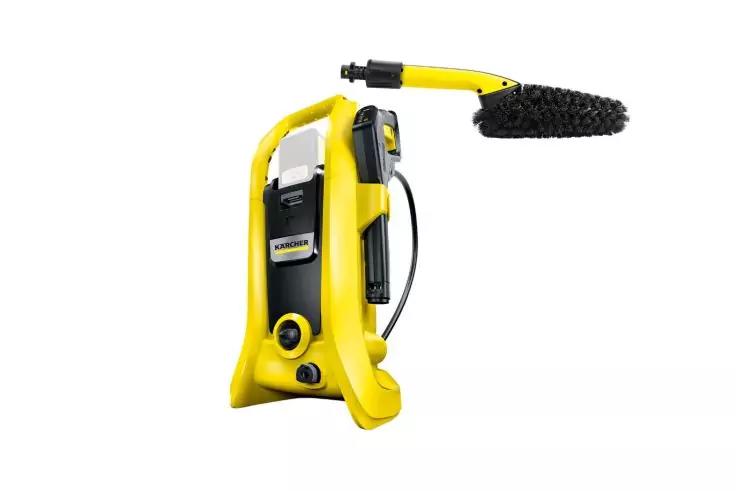
Kärcher offers a combination solution for vehicle washing and tyre care. With a separately available rim brush, the K2 battery-powered high-pressure cleaner can clean tyres effectively.
Here you can find many products that help with rim cleaning.





Conclusion: more than a necessary evil
Tyres are a safety-critical component of a motorhome. Their maintenance involves more than just wheel replacement: cleaning and checking rims and tyres is essential for safety.